Monday, February 5, 2024

Long exposure

 I love this lesson. But every year I have a very different response to it. Some really love it, but the work they do falls short, some hate it and their work struggles, and some just click with it. And this year was a click year. The kids nailed the assignment they challenged themselves took risks and made some amazing projects. 


Thing I that have worked: 

- good prompts 

- using the pixel stick to illustrate how long exposure works

- Encouraging cameras to go home

- I love this video made by a YouTube a few years ago, it's short and to the point and shows a variety of photos that actually seem possible for the students A lot of long exposure feels impossible, and that makes them shut down. 


Things that don't work:

- too much instructions(they get bored and feel like they need to be too specific)

- forgetting to have examples of camera settings written out and posted, so if they do not know what to do they can just look it up)


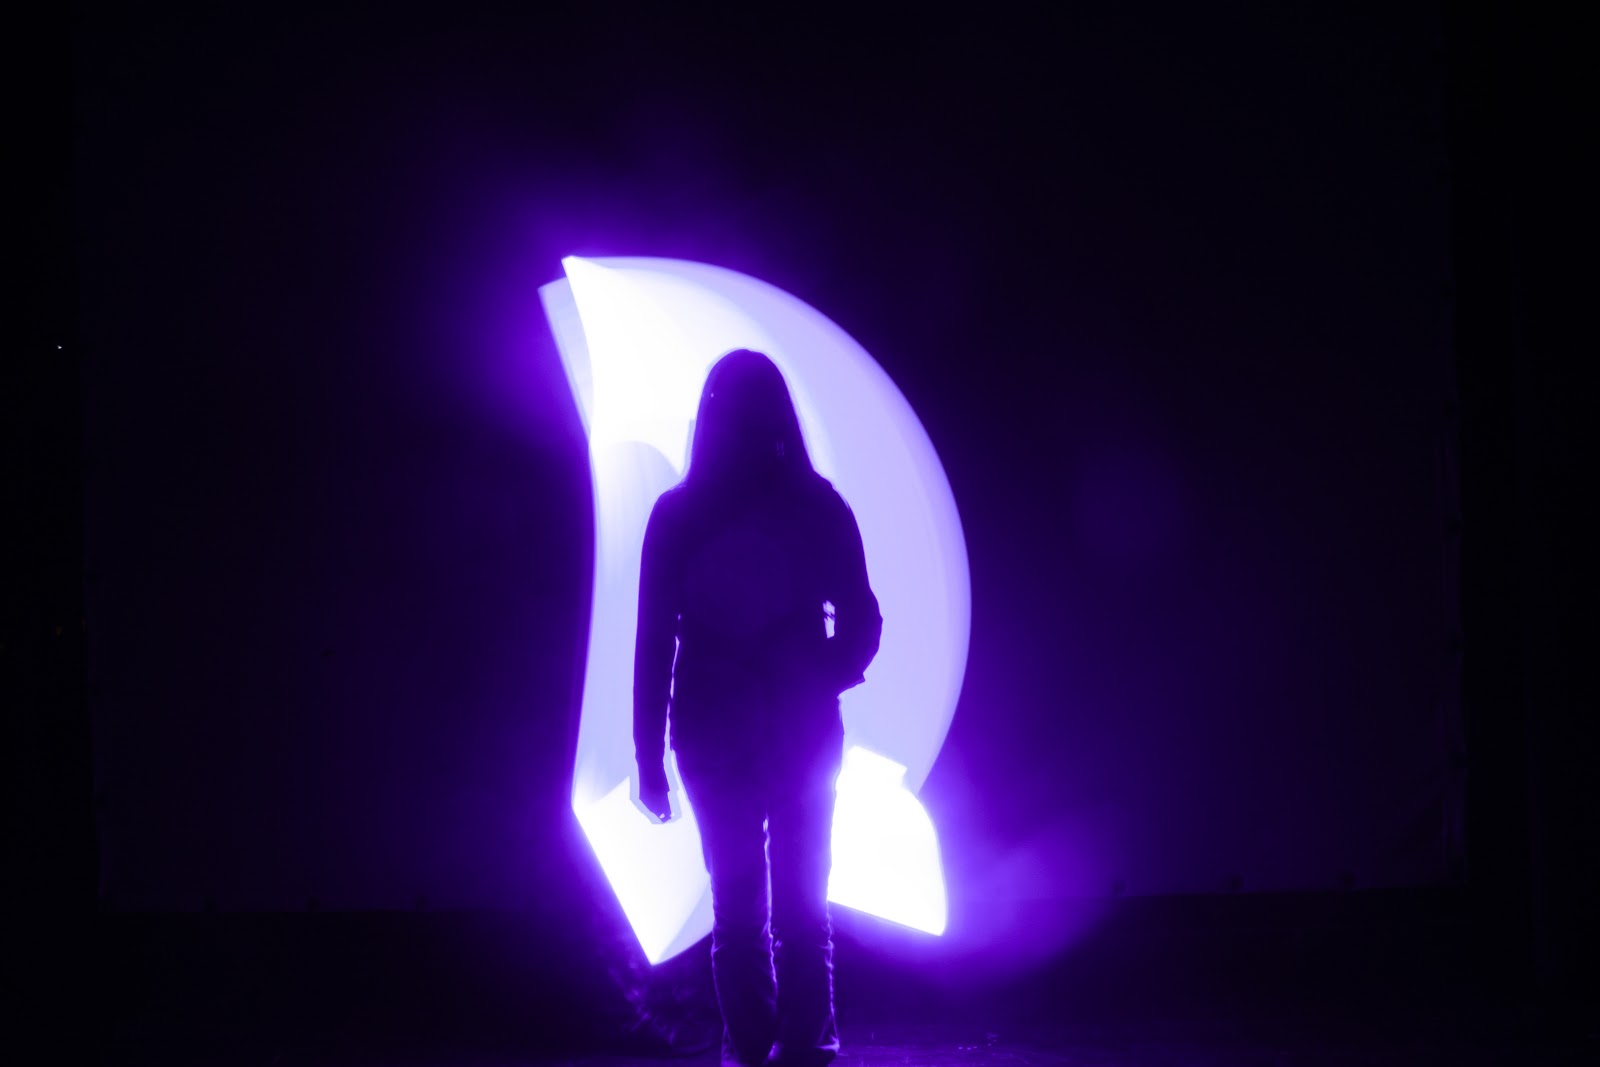
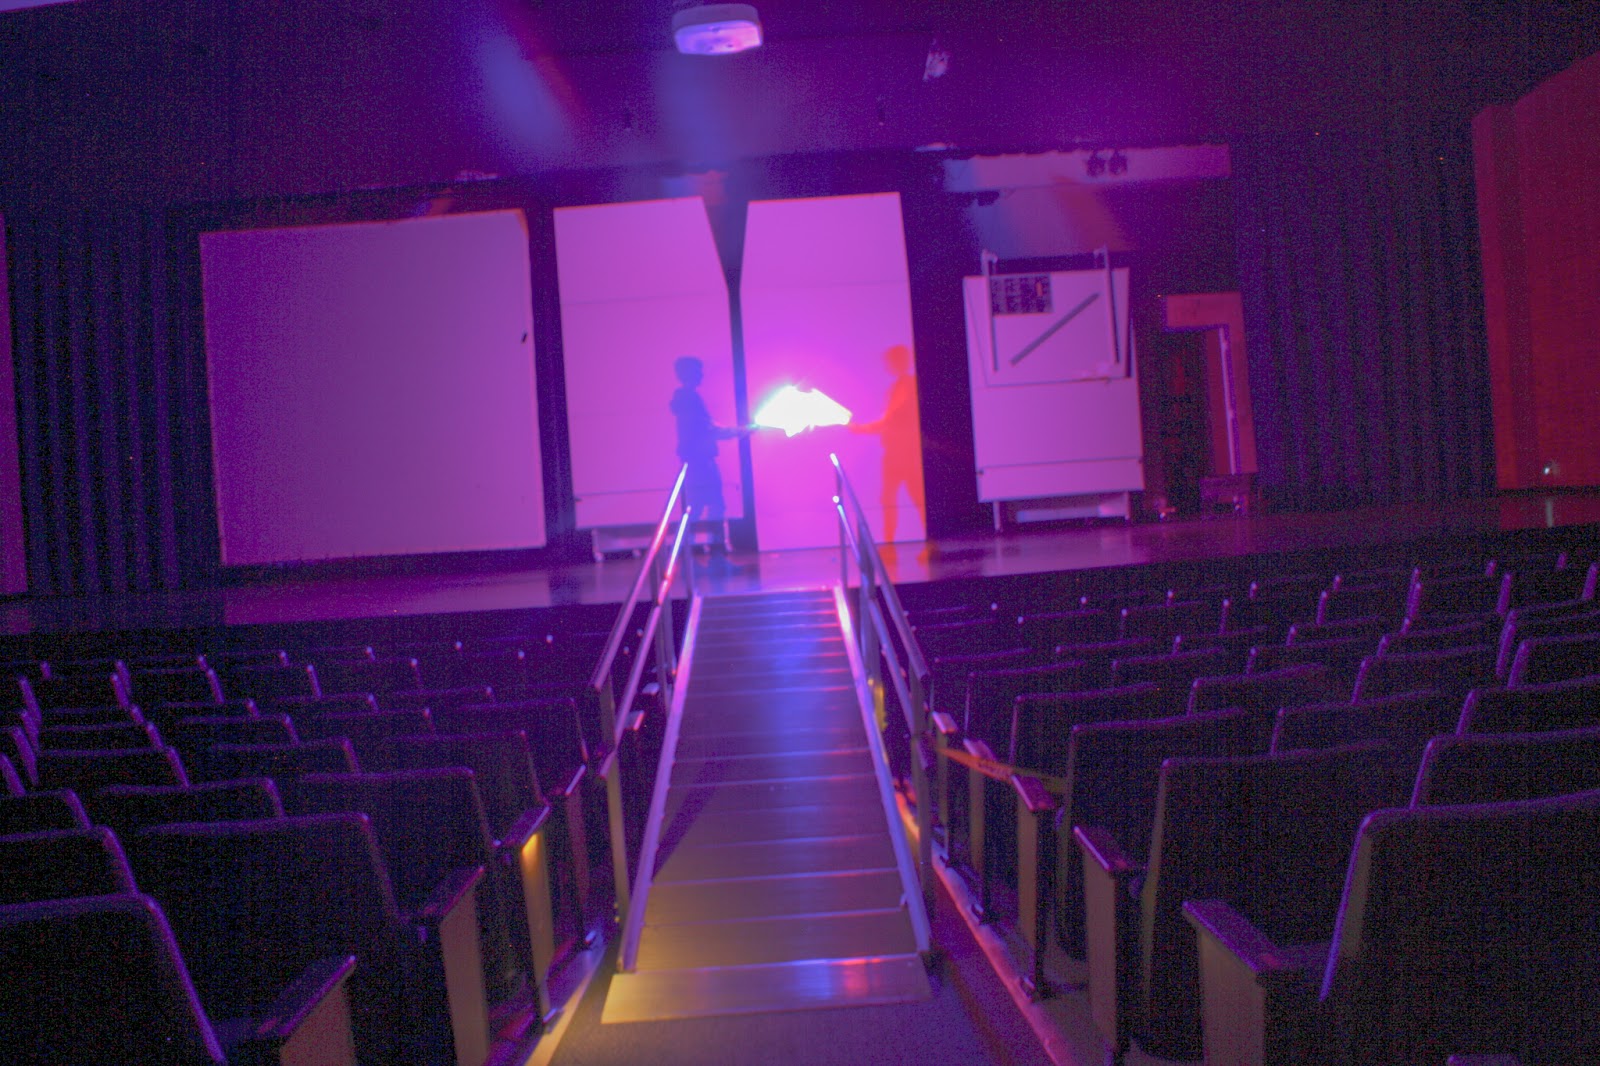
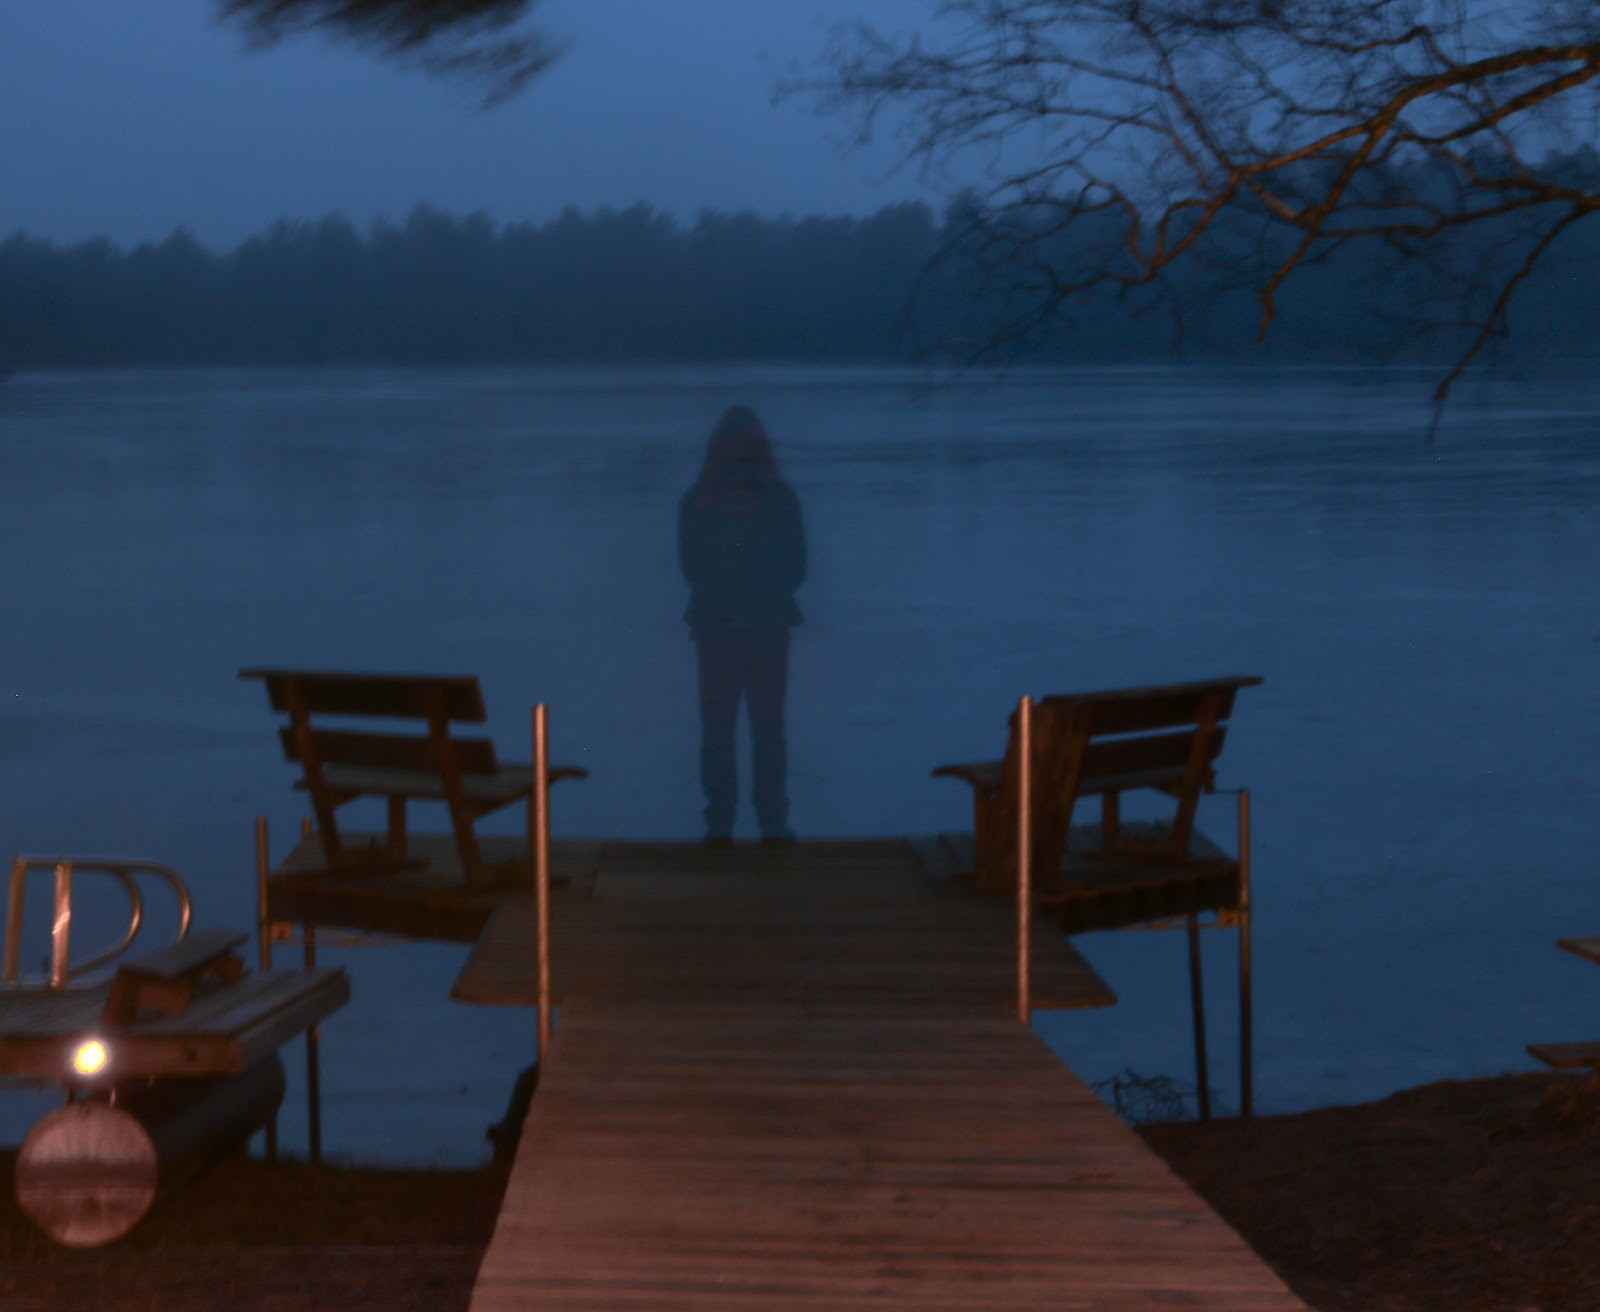
So enjoy the examples of student work!


Thursday, May 28, 2020

Pen and Ink in virtual Classroom

Since we have all had to go online, I have decided to really start documenting what I have been doing in my classroom. I hear a lot of teachers calling for help, and I want to help especially since they have always helped and are continuing to help me. So in every step of my lessons, I am making them public and sharable for anyone who needs them. Hopefully, this will be helpful and not just make me look like a self-important doofus.

Starting with my pen and ink lesson.

End goal: All students will have a portfolio ready Observational Pen and ink drawing, demonstrating their understanding of composition and value.

Supplies:
White nonlined paper
black pen
Pencil


First, we had a video where I walked them through a short history of Pen and Ink and artists that use it. Their activity after class was done was to explore the artist in the presentations website.


Second I had them practice value scales with ink to get a feel for the medium.
They had to turn in two separate pages. One with the sphere drawing and one with a gradient scale.

They had a few days to work on that.

Meanwhile, I had them take pictures of what they planned on drawing, I could guide them into making a better decision or encourage them in their choice.


Next, they had to pick their objects or subject and sketch and ink it, which I demonstrate in two videos. One which is very fast, and another that is a little more in-depth step by step lesson. 


Students had about a week to do this part of the assignment. I know that in person it would not have taken them this long, but this was the first project we did virtually so I gave them some extra time. 

After they turn in their work and asked them to load their pictures onto a Padlet(If you have never used a Padlet before to communicate, you really should it is pretty great https://padlet.com/). Students were then asked to comment on 2 other works of art. 


Thursday, April 18, 2019

Long Exposure Photography in Photo II


Long exposure is a great lesson when you want your students to really understand your shutter speed. This is the first time we work entirely is Manual with manual focus. We have used Aperture, and some students have done some self-initiated manual setting work but this is the first time they were all forced to control every element of the camera process. 

Here is a great video that was made by a photographer, that does a great job of showing some interesting techniques. 


Here are my standard settings I have my students set for their cameras. 


On another thing that I would recommend, is setting your focus to Manual, because the camera is not smart enough to focus in the dark so you will have to do it manually in order to get it to focus on what you want it to. 

Their assignment:

7 images total

1. Light drawing2. Portrait3. Delete the background 4-7. the rest can be whatever you want 


Here are some great examples of student work from this assignment. 


Tuesday, April 2, 2019

Digital Drawing: Landscapes

So last year I did this lesson and things I learned from that lesson: (link)

1. Don't use this lesson to teach grey scaling. (We will still learn Greyscaling but in a different setting.)
2. Get kids to make more original content
3. Get students to create content that has meaning that they can communicate about in a written statement or in a critique.

For this lesson I wanted my students to add the 3 main elements of Landscape (foreground middle ground and background). I wanted them to use Value and texture, and I wanted them to think of the landscape as a small piece of a larger story, encouraging them to find meaning in their art, and help them communicate a little visual storytelling.

- Our unit started with a pre-assessment, where they all tried to draw different landscape pieces to the best of their abilities. This way, I could see what they needed the most help with.

- Then we did a few of those elements as a group, where I showed them the basic landscape elements and how to draw them more easily in the picture.

- After that, we worked on self-education. How do you find something on your own, especially when you are making something very specific?

- Last we had a final assignment. Where they had to create an original landscape on their own. 

These students did a great Job on this lesson, then worked really hard and even though this is only the second thing they have ever drawn using the Digital sketchpads, they really nailed it out of the park.