Monday, November 27, 2017

Crystals

         So we just finished our portraits project, which I will be covering later. It was big, so there is a lot to unpack with that assignment.

On the flip side after our critiques were done I wanted a small project as kind of a pallet cleanser before our next big thing. Where the portrait project took about 3 weeks this mini assignment will only take 2 days. Also as art teacher will tell you, one of the hardest things to do is explain to parents why their students have not been making any art. My parents are amazing at this school and have never asked that, but it is something have had to tackle at other schools.

These small assignments are what I like to call crowd pleasers, and the students love them too. Not to mention the tools they learn I see them use in the future and it saves them sooooo much time, and it improves their projects.

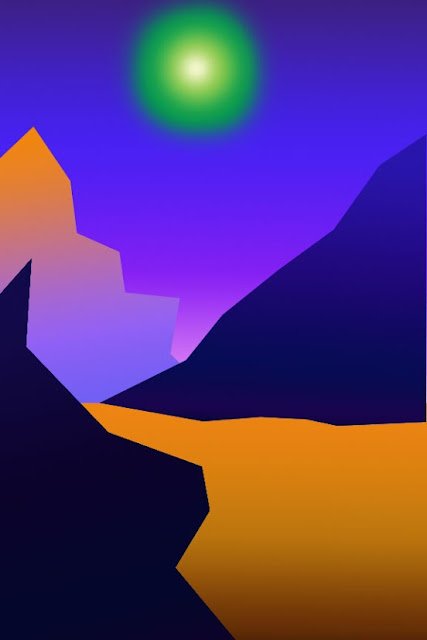
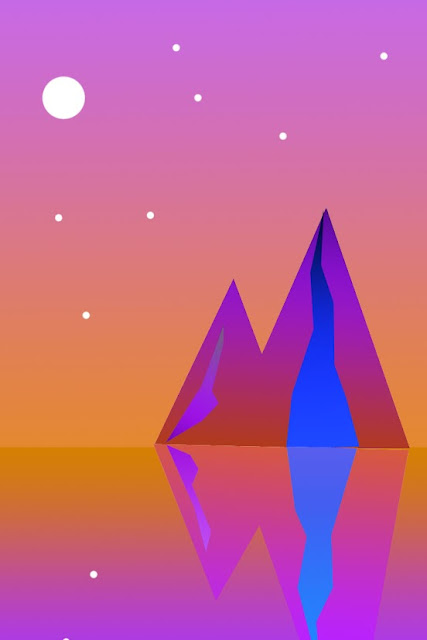
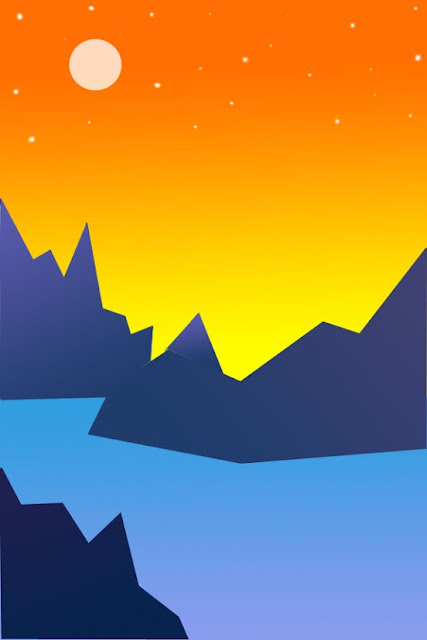
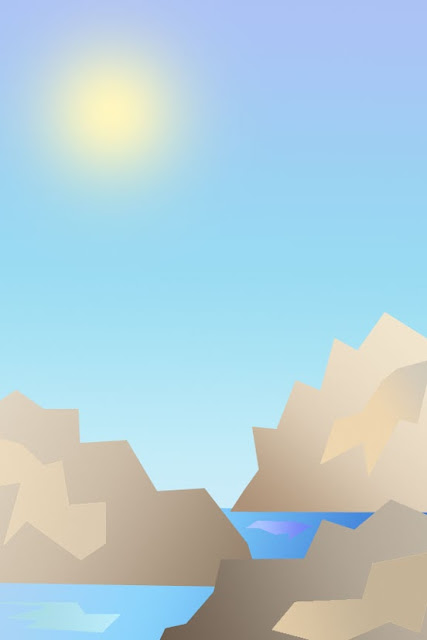
This time we did Crystals.

Software:
FireAlpaca (Free Program)

Tools used:
- Gradient tool
- Brush set to line tool
- Magic wand
- Layer control
- Particle Brush

Goals:
All Students will create a crystal using the gradient tool to shade

Most student will use particle brush and airbrush to create a glow effect

Some students will create an original crystal using gradient, glow, transparency, and show their own personal style and character in their work.                   


Here is a video that will walk you through the steps we used.


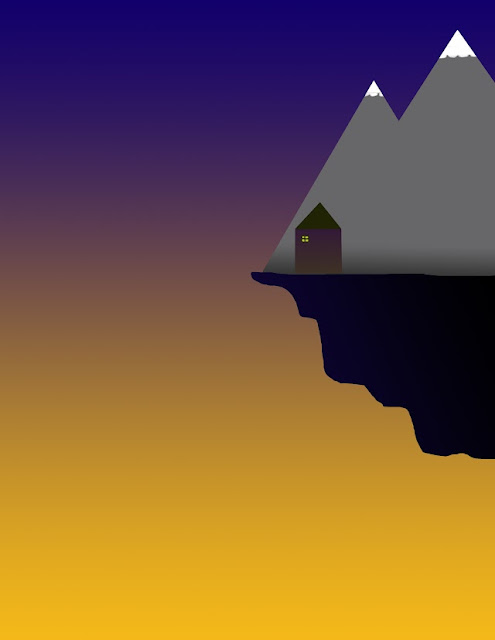
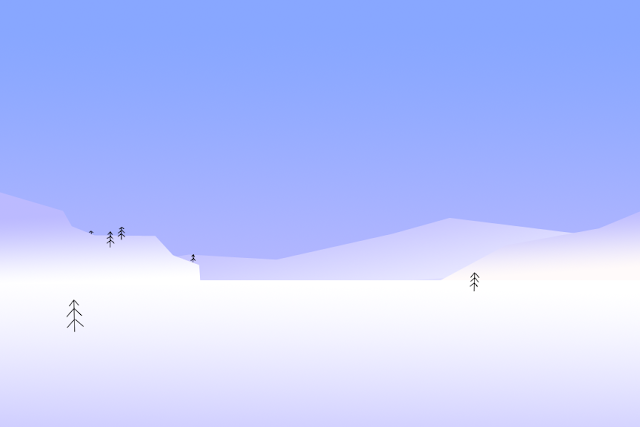
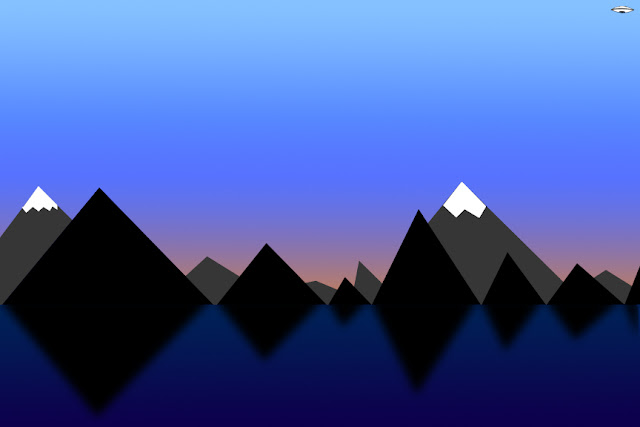
And Here are some student examples!


Sunday, November 19, 2017

Gradient Lesson: High school Digital Drawing


This was a nice and easy one day lesson, where the students learned how to use the gradient, and selection tools. This lesson is really great because everyone can feel like they succeed at it, it acts as a nice confidence builder before a slightly harder lesson. Digital drawing is frustrating and if you don't have win every once in a while it is easy to get really discouraged.

That isn't to say this assignment does not have its challenges, they still can make them different and interesting. Students can make it more complicated as well, this just gives them to tools to make something cool.

Here is the tutorial I made that will walk you through the process step by step.


And here are some of the amazing student examples. They were way better than the example I made in video. 


High School Still Life Photography


Still Life!

The First fronteir...
 Still life has been around as long as art has been around. It stays in one place and it is great way to test your observational drawing and photography skills without having to worry about your subject getting up and taking off.


As fair as the Hierarchy of fine art goes it is near the bottom... as you can see.

However, there did not stop it from being one of the most profitable genres. Even today think about the photographers and their jobs and who is considered the most respectable.

1. Photographers who go into war areas and that take pictures for national geographic are considered very pristigous.

2. Just under that we have people who do the portraits for magazines or the photographer who takes pictures of the royal family. This shows they have patronage(Just like in the old days!).

3. Genre photos are harder to nail down but we could put spots photography in that category.

4. Landscape photography is still respected but think about your own perceptions when you compare someone who takes pictures of Angelina Jolie (and not in a sneaky way like a poperazzi)

5. Then there is animal photography.

6. Then you have Still Life. You would not usually think about hiring someone to come take a picture of an item just sitting on the counter, but if you think about the photographers that take picture of items for ads in magazines you will see there is actually a huge market for still life photography, even though it is not thought of as the highest form.


First we talk about setting up a still life and how to light it.

To keep it simple I give them a set of guidelines.
1. Keep you object in odd numbers
2. Make your items create a triangle
3. Make your you lighting is intentional

All the rules you can either follow or not follow, but you should always do so on purpose. 


Here are some examples of student work.

Color Matching: Learning how to see color themes with High School.

This is the first step of a much larger project that has to do with color in photography.

1. Student have to go out and find images that all have matching colors. (6-8 images)
    - Late in the assignment student ask what should I take a picture of, and you can say, "What did you collect for your color assignment?" These are obviously things they like to look at so see how you can recreate your own versions.
2. They then have to place all the images in Photoshop
3. Students then use the ruler tool to separate to the space in Photoshop
4. Then have them resize their images so they all fit together proportionately in the picture.

You then get these really cool little designs. It isn't the hardest or most intense assignment, it only take a day and a half to complete, but the practice is good, and it helps student to start to see color theming in photography.


Here are some Examples: