Wednesday, December 27, 2017

Long Exposure Photography

Long Exposure, is a simple enough concept with varying results. All it means is you have made the shutter stay open longer that usual, by longer than usual I mean 5 or more seconds.

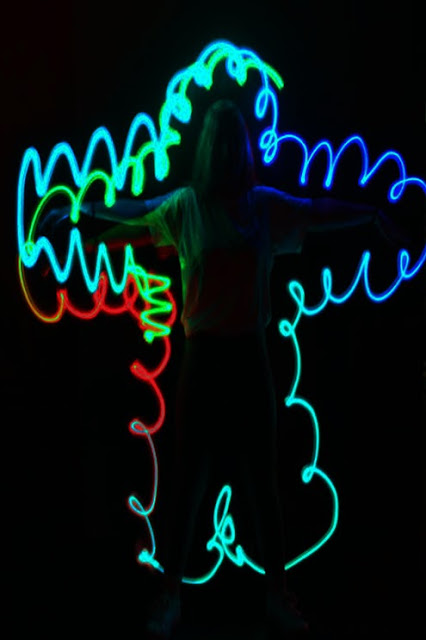
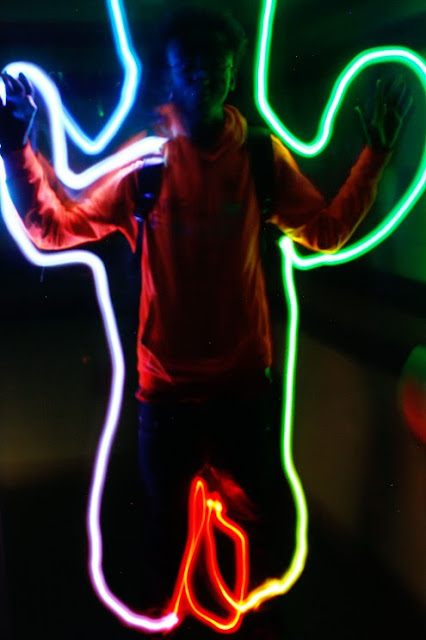
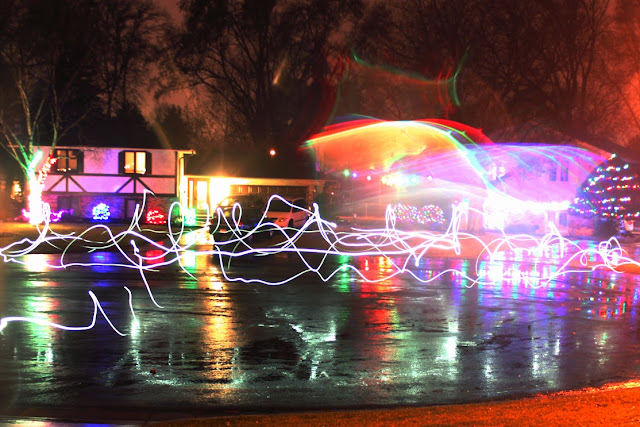
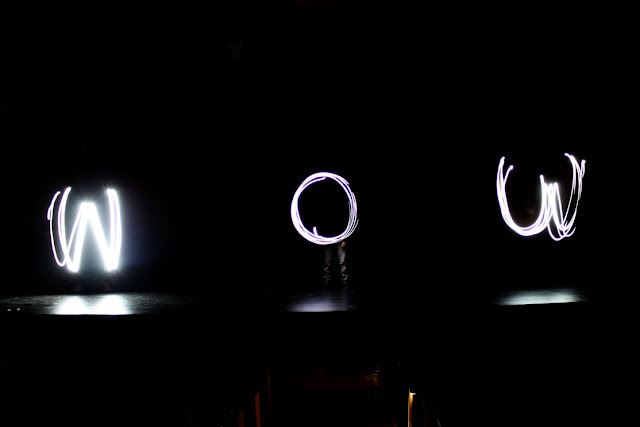
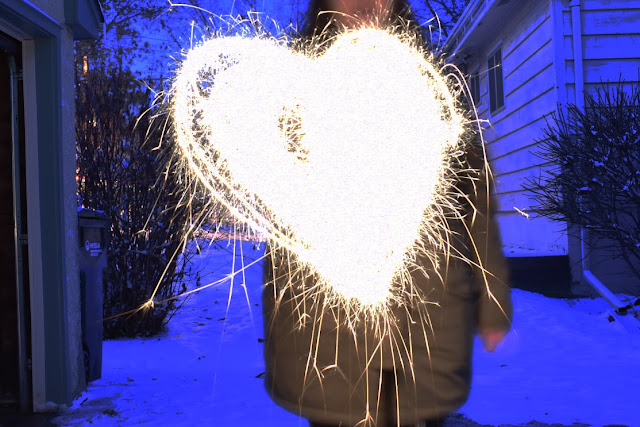
These are used for light drawing, night pictures, star images, cities in the dark, making ghosts or doubles. However most importantly it teaches students how to control their cameras. This forces them to work in the manual settings, and shows pass/fail results. They know immediately if their picture was successful or a misfire.

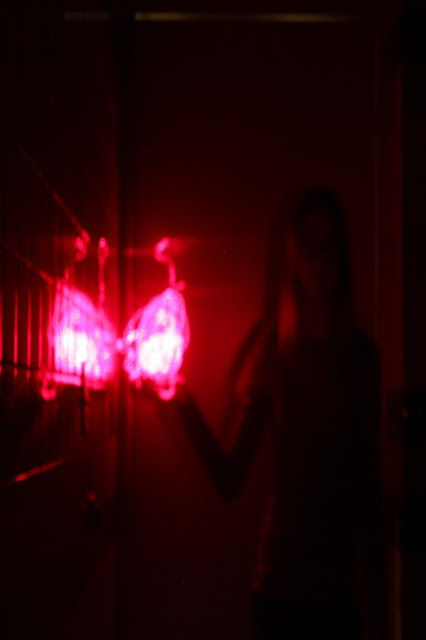
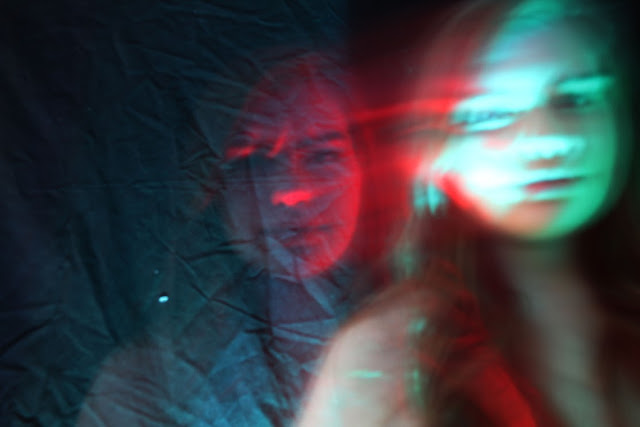
Here is an example of an image I did to try out a few techniques.


Here is a tutorial on how to set your DSLR to take long exposures.


Rules to must follow:
1. Keep the camera perfectly still... AKA use a tripod (if it moves your image will be blurry)
2 . Set camera to manual focus (When your camera is in the dark it can't focus on anything, so you have to do the focusing for it. Otherwise it will just keep focusing and refuse to take a picture)
3. Dont just draw your name... its boring
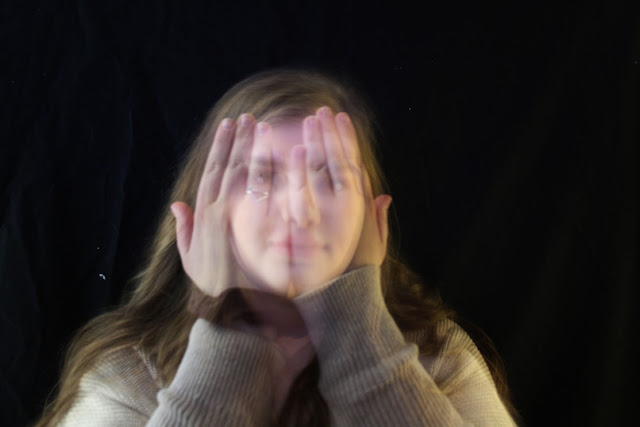
4. if you are going to have a person they have to stay completely still. 
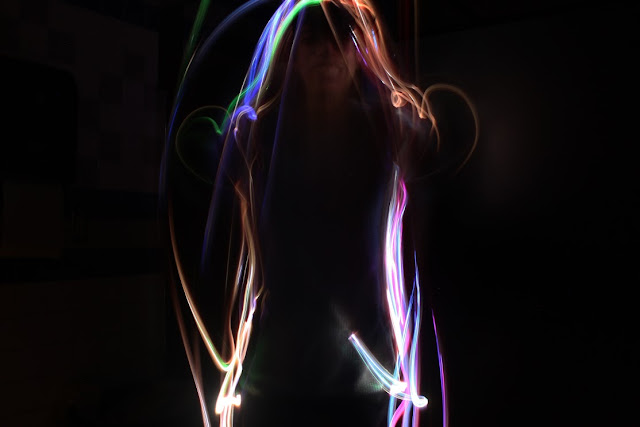
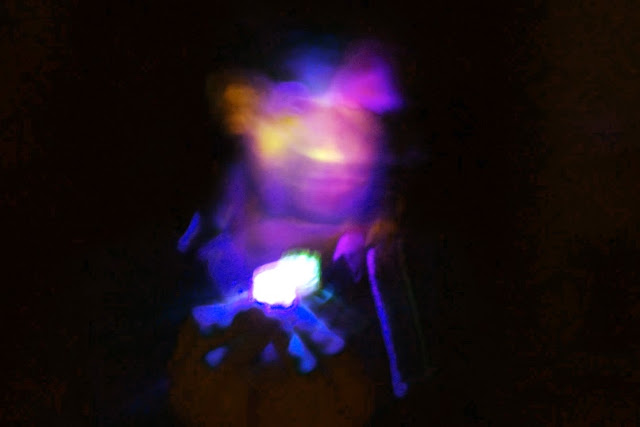
5. Use some sort of light to add interest
6. Unless you have a lens filter, you must take pictures in the dark


Prompts:
- Draw clothes on a person
- Get a picture of cars
- Get picture of stars 
- make a light scream
- draw something in light
- use a blacklight
- give yourself light superpowers
- use a mirror
- make a ghost 
- make a twin of yourself


Photo Challenge Assignment with any grade

So after a few lessons in Photography, my students started to feel a little listless. Their inspiration for photography had become very low, and I was getting a lot of the same shots. So, I decided we needed a bit of a change.

I created this lesson as a short bridging lesson. This falls just after another photography project(about color theory... those will be coming later) and we take that information, and the critiques that came from the group chat, and we apply it too this challenge.

I did this lesson with all ages from 7th- 12th grade. I gave them a few days and each had to choose a challenge, then they had to go out and try to complete that challenge.

Prompt Ideas:
- Take photos laying on your back
- Take photos upside down
- Take photos laying on your stomach
- Use a prop
- Use tinkle lights
- Use glass bulb
- Take a picture of something falling
- take a pictures of hair
- take a picture of shallow depth of field
- Take a picture but the hands/ feet have to be in the foreground
- Take a picture with a show shutter speed
- Make something ugly look cool
- take a picture with n ugly background
- take a picture where you cannot see the ground in the image
- Take a picture through the screen on a phone
- take a picture down something


** Slight change to the editing side of things, if you want them to purge their crazy edit cravings, have them choose 4 images and have them edit those same images minimally and then have them edit them like crazy. See the results and let them determine which looks better.

Here are a few student examples from the short unit.

Friday, December 8, 2017

Halloween Portraits

You know when you start something and then you save it, set it aside, and then your brain say, "Yeah you finished that." But then you go back and you realize your brain lied to you and no you had never finished that....

Well that is totally what happened.

So here is a lesson I did around Halloween... Yes... It's been a while.

So because it has been so long I will just outline the lesson and then I will say a few thoughts, but other wise I am not going to go into too much detail.

So the lesson was to create 3 images where you are going to layer images to create a fantasy/ horror/ sci-fi look

They did pretty well. I think I would spend more time talking about craftsmanship and blending, but it is early in the year and so if they don't understand a lot of the finer points I do kind of give them a pass. That being said some student did pull a fast one and then said it was because they didn't understand PhotoShop and that excuse has carried them into a habit of bad work. So there is that element.

Either way, this project might be on its last year, I am still deciding whether or not to scrap it for next year.

Let me know what you think and take a look at some of the examples of the exceptional student work.


Thursday, December 7, 2017

Portraits in digital drawing

This is a hard assignment to break down into parts and I know there is a lot of stuff I plan on changing in the future, that being said i still wanted to share what my beta class did on their first attempt at Digitally drawing faces.


First I started the lesson the same way I would teach a traditional art portrait class.
- We talk about laying out the face and using a reference
- Then we talk about value and skin texture
- Then the talk about coloring
- Then we focus on the important details like the eyes and lips.
- We also talk about hair texture and coloring.

I had the student first do a mini assignment where they practiced the features of the face they were sure they were going to struggle with. They turned those in on a separate assignment, ad we had a discussion about what they planned to do to tackle the issues they were expecting to struggle with. I am not going to show those because those were just a nice practice and I didn't want the students too feel self conscious about them. If they are self conscious they are far less likely to take risks and I want them to push their abilities.

I have to give shout out the the blogger Art by Meg Wittwer of Thunder Cluck on Tumblr who
makes excellent digital drawing tutorial that are simple and easy to understand. https://thundercluck-blog.tumblr.com/tagged/tutor%20tuesday

Here are a few examples of her work. 


Here is just another good one that I really like.


So then I had them choose an image to digital paint. Most students decided to do their drawing in Fire Alpaca, but a few decided to PhotoShop.

Here are a few examples of student work.

Things I would suggest:
1. There is no such thing as too many layers
2. Gray toning can be done after the fact on a lower layer
3. Use a reference
4. Don't draw every strand of hair
5. Do the eyes, nose, and the mouth near the end of your project.

After we were done we had a discussion on what went well, and what went poorly.