
First I started the lesson the same way I would teach a traditional art portrait class.
- We talk about laying out the face and using a reference
- Then we talk about value and skin texture
- Then the talk about coloring
- Then we focus on the important details like the eyes and lips.
- We also talk about hair texture and coloring.
I had the student first do a mini assignment where they practiced the features of the face they were sure they were going to struggle with. They turned those in on a separate assignment, ad we had a discussion about what they planned to do to tackle the issues they were expecting to struggle with. I am not going to show those because those were just a nice practice and I didn't want the students too feel self conscious about them. If they are self conscious they are far less likely to take risks and I want them to push their abilities.
I have to give shout out the the blogger Art by Meg Wittwer of Thunder Cluck on Tumblr who
makes excellent digital drawing tutorial that are simple and easy to understand. https://thundercluck-blog.tumblr.com/tagged/tutor%20tuesday
Here are a few examples of her work.


Here is just another good one that I really like.

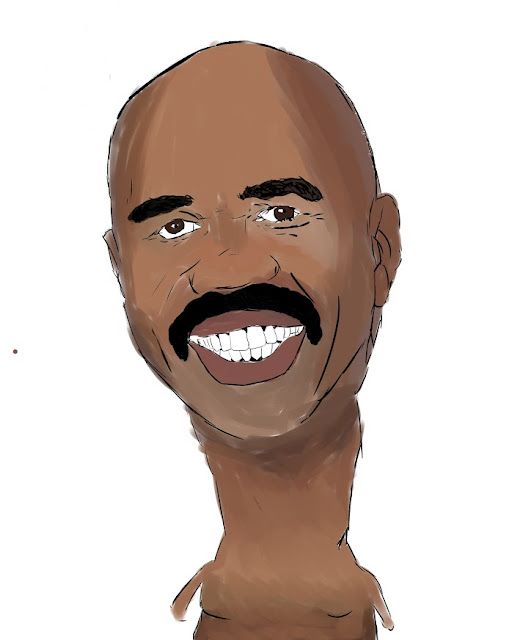
So then I had them choose an image to digital paint. Most students decided to do their drawing in Fire Alpaca, but a few decided to PhotoShop.
Here are a few examples of student work.
Things I would suggest:
1. There is no such thing as too many layers
2. Gray toning can be done after the fact on a lower layer
3. Use a reference
4. Don't draw every strand of hair
5. Do the eyes, nose, and the mouth near the end of your project.
After we were done we had a discussion on what went well, and what went poorly.


No comments:
Post a Comment